
 Mailchimp is a brilliant tool for businesses of all sizes to send branded emails and newsletters to their customers. Previously, in the free version of Mailchimp, there was no automation functionality. As of 08 May 2017, automation is now free – woohoo!
What is email automation?
Email automation allows you to set up a workflow of a strings of emails (one or more) that automatically send to customers after a predefined time span, depending on the actions they take. You determine what automated emails you would like to use and pre-prepare these emails.
To launch email automation you may or may not need to add some code to your website to enable Mailchimp to know when an action has been taken and an email needs to be sent. (See below for instructions on setting up a welcome message for when someone joins your mailing list – this does not need any code on your website).
Examples of Email Automation with Mailchimp
- Abandoned Cart Emails – an email will automatically send when a customer leaves something in the basket on your online shop. Your previously created template email would go out automatically to these customers and could include an enticing offer to come back and purchase.
- First Purchase Emails – an automatic email goes out to a customer after their first purchase from your business
- Product Follow Ups – emails could be sent out after a customer buys a specific product
- Welcome Message – sending an email to greet people who join a mailchimp list
- Many more – See the full list under the ‘Automation’ tab in your Mailchimp account!
How to set up Mailchimp Automation – Welcome Message
We’ve tested out mailchimp automation and started with a ‘welcome message’. This is a simple feature and doesn’t require you adding anything to the back end of your website. Here’s how it’s done…
- Login to Mailchimp and click on the ‘Automation’ tab
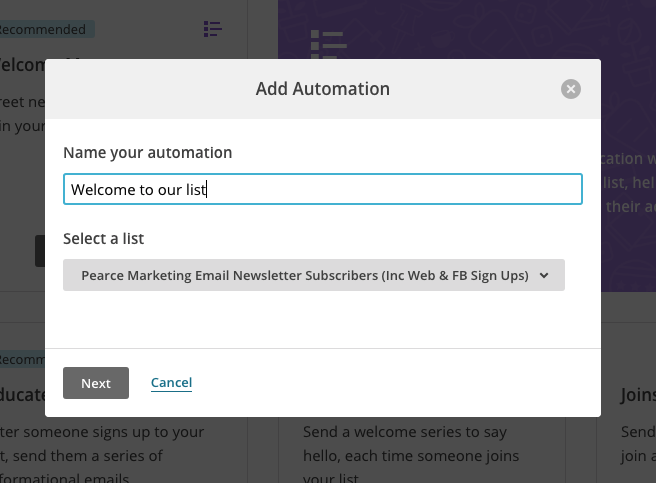
- Scroll down to the ‘List Activity’ section and choose ‘Welcome Message’ (click add automation)
- Name the automation and choose the list you’d like to add this function to
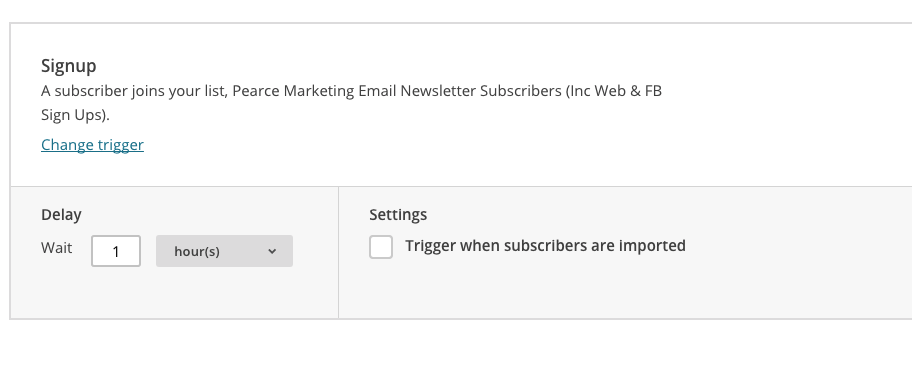
- Next choose the ‘Trigger’ time – this is how long Mailchimp waits after someone signs up to the list before they send out the welcome email. In this example, we’ve chosen ours to go 1 hour after they sign up – but you could choose to set by minutes, hours or days
- Mailchimp will automatically create a blank email for you to edit. To design this email with your branding click on the ‘Design Email’ button to the right of the email

- Here you’d set up the email as you would your normal campaigns: Name your email, write a subject line and fill in the ‘from name’ and ‘from email address’ fields
- Next choose a template – we’ve used one of our ‘saved templates’
- Then amend your email content. We’ve included a thank you message (for signing up), information on what our newsletter includes, plus a taster blog
- When you’re happy click the ‘save and continue’ button in the bottom right corner
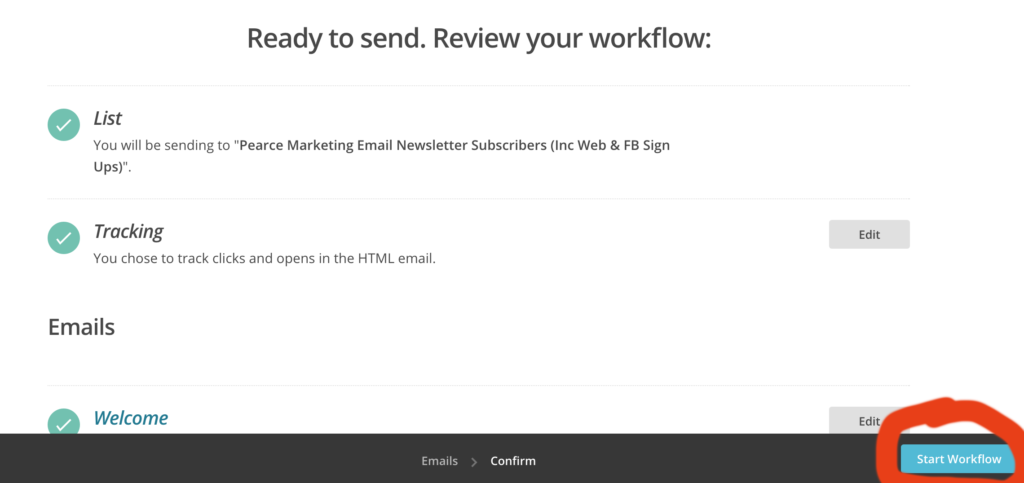
- Mailchimp will bring you back to the screen below – next click on the ‘next’ button in the bottom right hand corner
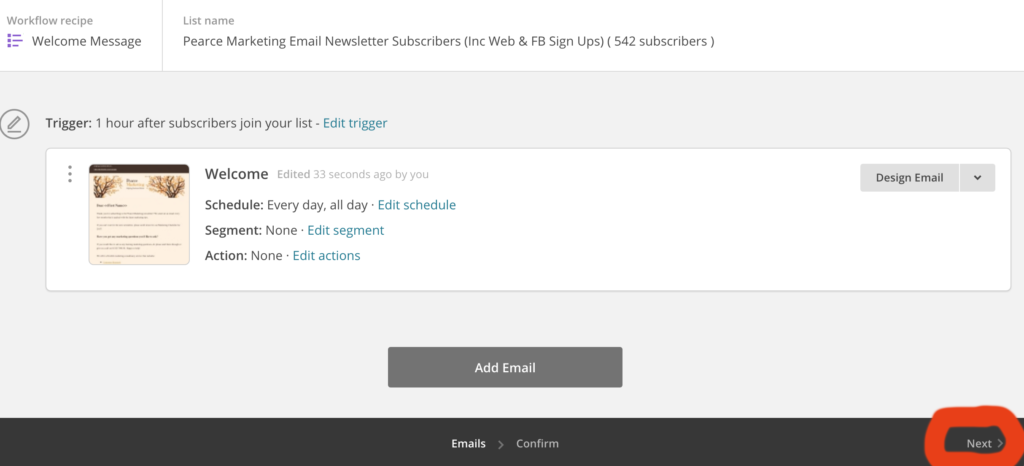
- Do your last final checks and click ‘Start Workflow’ when you’re done!
Have you tried this new functionality out? We’d love to hear how you get on…
More free marketing advice:
For more handy tips on social media updates, please see our blog and browse our blog categories. If you don’t want to miss future blog posts about marketing and social media, please sign up to our email newsletter (see right hand column). You can also follow us on social media
Facebook Twitter LinkedIn Google+ YouTube Instagram Snapchat.


Leave a Reply